King’s Hawaiian Cheesecake Danish
Introduction
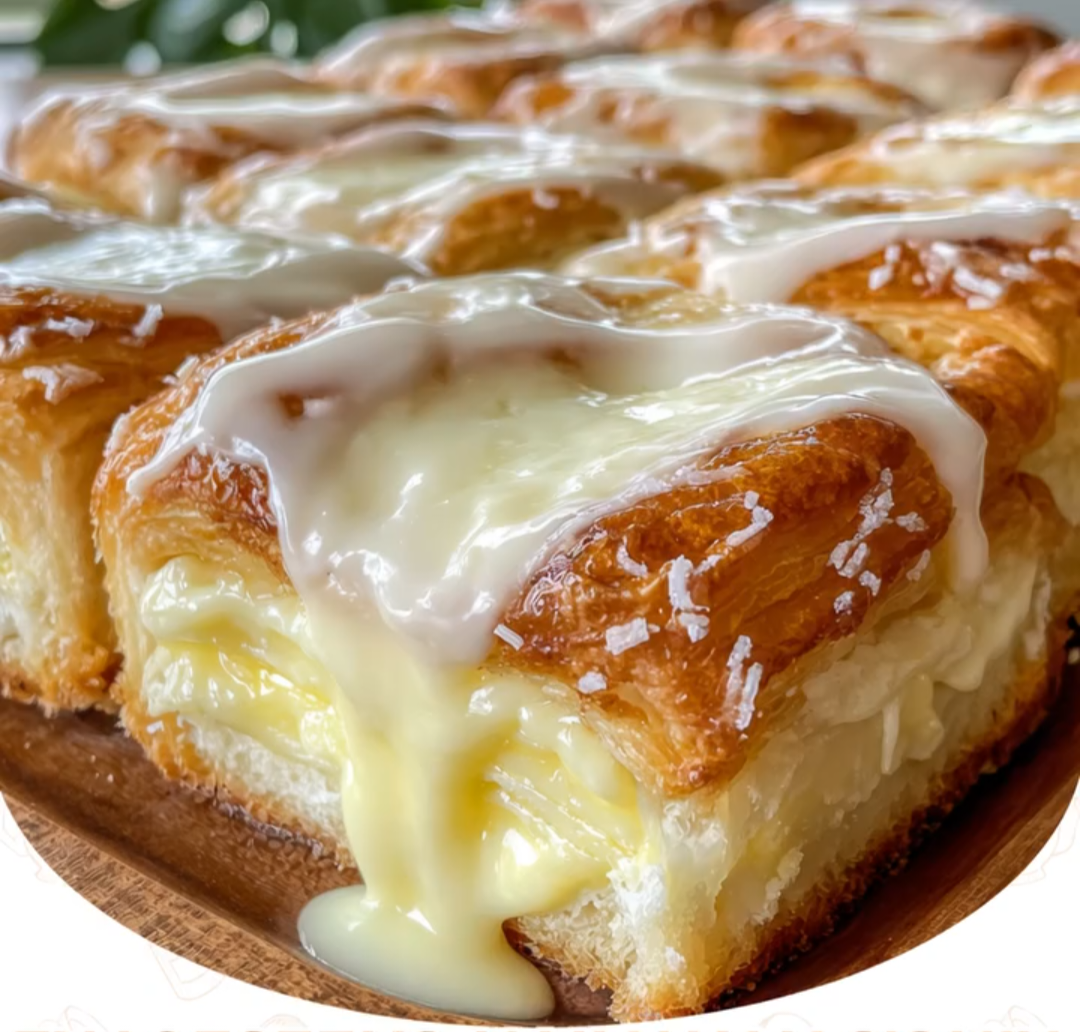
If you’re searching for an easy dessert that looks like it came straight from a bakery, this King’s Hawaiian Cheesecake Danish is exactly what you need. Made with soft King’s Hawaiian sweet rolls, a rich and creamy cheesecake filling, and finished with a smooth vanilla glaze, this recipe delivers incredible flavor with very little effort. It’s one of those desserts that feels special enough for holidays, brunches, birthdays, or family gatherings, yet it’s simple enough to make on an ordinary weekend.
What makes this King’s Hawaiian Cheesecake Danish so irresistible is the perfect combination of textures. The sweet rolls become warm, buttery, and fluffy while baking, creating the perfect base for the creamy cheesecake layer tucked inside. A buttery cinnamon topping adds a touch of caramelized sweetness, while the vanilla glaze finishes everything with a beautiful bakery-style look.
Unlike traditional Danish pastries that require making laminated dough from scratch, this shortcut version keeps things quick and stress-free without sacrificing flavor. Even beginner bakers can make this recipe with confidence, and the results are consistently delicious every time.
Another reason people love this King’s Hawaiian Cheesecake Danish is its versatility. You can enjoy it as a breakfast pastry with coffee, serve it as a brunch centerpiece, or present it as an elegant dessert after dinner. It’s equally delicious warm from the oven or served at room temperature, making it perfect for entertaining.
If you’re looking for a crowd-pleasing recipe that combines convenience, comfort, and bakery-quality flavor, this King’s Hawaiian Cheesecake Danish deserves a permanent place in your recipe collection.
Why This Recipe Works
There are many reasons why this King’s Hawaiian Cheesecake Danish turns out perfectly every time. Every ingredient plays an important role in creating the ideal balance of flavor and texture.
The first secret is the King’s Hawaiian sweet rolls themselves. Their naturally soft texture and slightly sweet flavor eliminate the need for homemade pastry dough while still delivering a light, fluffy bite. They stay tender throughout baking and pair wonderfully with the creamy filling.
The cheesecake filling is another highlight of this recipe. Cream cheese, sugar, egg, and vanilla blend together into a silky mixture that bakes into a smooth, rich center without becoming overly dense. Every bite has just the right amount of sweetness balanced by the slight tang of the cream cheese.
The buttery brown sugar topping creates a lightly caramelized finish that adds both flavor and color. If you include cinnamon, it adds a warm bakery-style aroma that fills your kitchen while baking.
Finally, the vanilla glaze ties everything together. It adds just enough sweetness while giving the finished pastry the glossy appearance of something you’d find in a professional bakery display.
Because every layer complements the others, this King’s Hawaiian Cheesecake Danish delivers rich flavor without feeling overwhelming.
What You’ll Need For This Recipe
One of the biggest advantages of this King’s Hawaiian Cheesecake Danish is that it uses everyday ingredients that are easy to find at nearly any grocery store.
For the Danish
1 package King’s Hawaiian Sweet Rolls (12 connected rolls)
For the Cheesecake Filling
8 ounces cream cheese, softened
3 tablespoons granulated sugar
1 large egg
1 teaspoon vanilla extract
For the Butter Topping
2 tablespoons melted butter
2 tablespoons brown sugar
1 teaspoon ground cinnamon (optional)
For the Vanilla Glaze
1 cup powdered sugar
2 to 3 tablespoons milk
½ teaspoon vanilla extract
How To Make This Recipe
Step 1: Prepare the Oven
Preheat your oven to 350°F (175°C). Lightly grease a 9×13-inch baking dish with butter or nonstick cooking spray.
Step 2: Slice the Rolls
Using a serrated knife, carefully slice the connected King’s Hawaiian rolls horizontally while keeping all the rolls attached. Place the bottom half into the prepared baking dish.
Step 3: Prepare the Cheesecake Filling
In a large mixing bowl, beat the softened cream cheese until smooth. Add the sugar and continue mixing until creamy. Beat in the egg and vanilla extract until fully combined and silky.
Step 4: Assemble the Danish
Spread the cheesecake filling evenly across the bottom layer of the rolls. Cover with the top half of the rolls, keeping them aligned.
Step 5: Make the Butter Topping
Mix together the melted butter, brown sugar, and cinnamon. Brush or spoon the mixture evenly over the tops of the rolls, making sure every roll is coated.
Step 6: Bake
Bake for 20 to 25 minutes, or until the tops are golden brown and the cheesecake filling is fully set. If the rolls brown too quickly, loosely cover the pan with aluminum foil during the last few minutes.
Step 7: Prepare the Glaze
While the Danish is baking, whisk together the powdered sugar, milk, and vanilla until smooth. Adjust the consistency by adding a little more milk if needed.
Step 8: Finish and Serve
Allow the Danish to cool for about 10 minutes before drizzling the glaze generously over the top. Serve warm and enjoy.
Tips + Tricks & More For Recipe Success
Always allow the cream cheese to soften completely before mixing. This prevents lumps and creates a perfectly smooth filling.
Use room-temperature eggs for the creamiest cheesecake texture.
Avoid overmixing the filling after adding the egg, as this can introduce excess air and affect the texture.
Don’t overbake. The filling should be set but still slightly soft in the center when removed from the oven.
Let the Danish cool for about 10 minutes before glazing so the icing doesn’t completely melt away.
For even more flavor, add a little lemon zest or almond extract to the cheesecake mixture.
Fresh berries or mini chocolate chips can be folded into the filling for a fun variation.
A small pinch of salt enhances the sweetness and balances the overall flavor.
Store leftovers covered to keep the rolls soft and fresh.
Warm individual servings in the microwave for about 15 seconds before serving.
How To Serve
This King’s Hawaiian Cheesecake Danish is best served slightly warm when the cream cheese filling is soft and creamy and the rolls remain fluffy.
Slice it into squares using a sharp knife, or simply pull apart each individual roll for easy serving. It’s perfect for breakfast, brunch, dessert, holiday mornings, baby showers, bridal brunches, or afternoon coffee breaks.
Serving Suggestions
This recipe pairs beautifully with many different sides and beverages.
Fresh strawberries, blueberries, or raspberries
Fresh fruit salad
Hot coffee
Cappuccino or latte
Hot chocolate
Fresh orange juice
Vanilla ice cream
Whipped cream
Caramel sauce
Chocolate drizzle
Toasted sliced almonds
Powdered sugar dusting
You can also serve this Danish as part of a larger brunch spread alongside scrambled eggs, bacon, sausage, or fresh pastries.
Time
Prep Time: 15 minutes
Bake Time: 20–25 minutes
Cooling Time: 10 minutes
Total Time: 45–50 minutes
Servings: 12
Calories: Approximately 330 calories per serving
Final Thoughts
This King’s Hawaiian Cheesecake Danish proves that bakery-quality pastries don’t have to be difficult to make. Using soft King’s Hawaiian sweet rolls as the base creates an incredibly tender texture, while the rich cheesecake filling and sweet vanilla glaze turn simple ingredients into an unforgettable dessert.
Whether you’re preparing it for a holiday breakfast, weekend brunch, family gathering, or simply satisfying your sweet tooth, this recipe is guaranteed to impress. It’s quick enough for busy mornings, elegant enough for entertaining, and delicious enough to become a family favorite.
Once you make this King’s Hawaiian Cheesecake Danish, you’ll find yourself coming back to it again and again because it’s easy, reliable, and always a crowd-pleaser. Every bite is soft, creamy, buttery, and perfectly sweet—the kind of homemade treat everyone will ask you to make again.