Homemade Pineapple Heaven Cake
1. Introduction
There’s something truly special about a homemade cake that fills your kitchen with a warm, sweet aroma—and this Homemade Pineapple Heaven Cake does exactly that. From the moment it goes into the oven, the scent of buttery batter combined with sweet, tropical pineapple creates an irresistible anticipation. This cake isn’t just a dessert; it’s an experience—soft, moist, and bursting with flavor in every bite.
Unlike many quick recipes that rely on boxed mixes, this cake is made entirely from scratch using simple pantry staples. That means you get full control over the flavor and texture, resulting in a richer and more authentic taste. The crushed pineapple, added with its juice, keeps the cake incredibly moist while infusing it with a natural sweetness that feels light and refreshing rather than heavy.
Whether you’re baking for a family gathering, a celebration, or simply to satisfy a sweet craving, this pineapple cake delivers comfort and indulgence in equal measure. With a delicate crumb, buttery richness, and optional glaze that adds just the right finishing touch, it’s a recipe you’ll find yourself coming back to again and again.
2. Why This Recipe Works
This recipe stands out because it strikes the perfect balance between simplicity and flavor. Every ingredient plays a specific role in achieving that soft, moist texture and rich taste.
First, the combination of butter and milk gives the cake a tender crumb while maintaining a slightly rich consistency. The butter adds depth, while the milk ensures the batter stays smooth and easy to mix.
Second, the crushed pineapple is the true star. By including both the fruit and its juice, you’re not only adding flavor but also natural moisture. This eliminates the risk of a dry cake—something that often happens with traditional sponge recipes.
Another reason this recipe works so well is the balance of dry ingredients. The flour provides structure, while the baking powder ensures the cake rises beautifully. The sugar sweetens the cake without overpowering the pineapple, allowing the tropical flavor to shine through.
Finally, the optional glaze enhances everything. It adds a light sweetness and a slightly tangy finish, complementing the pineapple without making the cake overly sugary.
3. What You’ll Need For This Recipe
Before you begin, it’s helpful to gather all your ingredients. This ensures a smooth baking process and prevents any last-minute surprises.
Dry Ingredients:
2 cups all-purpose flour
1 1/2 cups granulated sugar
2 teaspoons baking powder
1/2 teaspoon salt
Wet Ingredients:
1/2 cup unsalted butter (melted)
3/4 cup milk
2 large eggs
1 teaspoon vanilla extract
1 cup crushed pineapple (with juice)
Optional Glaze:
1 cup powdered sugar
2–3 tablespoons pineapple juice or milk
Each ingredient is simple, affordable, and easy to find, making this recipe perfect for everyday baking.
4. Choosing the Right Ingredients
To get the best results, ingredient quality matters more than you might think.
Use fresh or high-quality canned crushed pineapple. If using canned, make sure it’s in juice rather than heavy syrup for a more natural flavor. The juice is essential—it contributes to the cake’s moisture and taste.
For butter, unsalted is preferred because it allows you to control the salt level in the recipe. Melt it gently so it blends smoothly into the batter.
Eggs should be at room temperature. This helps them mix more evenly, creating a smoother batter and better texture.
As for flour, standard all-purpose flour works perfectly. Be careful not to overpack it when measuring, as too much flour can make the cake dense.
5. Kitchen Tools You’ll Need
You don’t need anything fancy to make this cake, which is part of its charm.
Mixing bowls
Whisk or electric mixer
Measuring cups and spoons
Baking pan
Spatula
Toothpick (for testing doneness)
Having everything ready before you start makes the process quicker and more enjoyable.
6. How To Make This Recipe
Making this cake is straightforward and beginner-friendly.
Start by preheating your oven and greasing your baking pan. This step ensures even baking and prevents sticking.
In a large bowl, combine the flour, sugar, baking powder, and salt. Mix well so everything is evenly distributed.
Next, add the melted butter, milk, eggs, and vanilla extract. Stir until the batter becomes smooth and lump-free. Avoid overmixing—just blend until combined.
Now comes the best part: fold in the crushed pineapple along with its juice. This step transforms the batter into something rich and fragrant.
Pour the batter into your prepared pan and spread it evenly. Place it in the oven and bake until the top is golden and a toothpick inserted in the center comes out clean.
Once baked, let the cake cool slightly. If you’re using the glaze, drizzle it over the top while the cake is still a bit warm so it seeps in slightly.
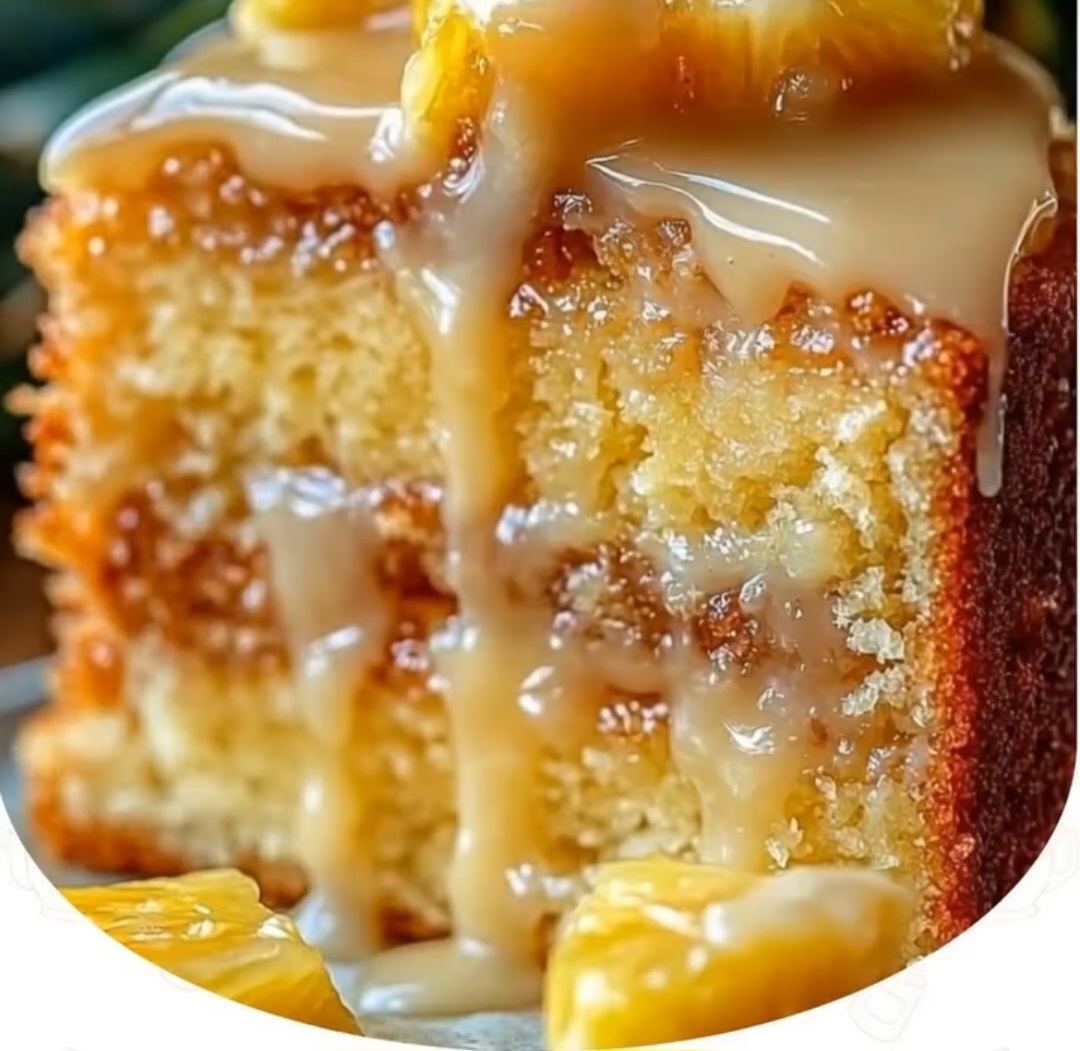
7. Understanding the Texture and Flavor
This cake is known for its incredibly soft and moist texture. The pineapple keeps it juicy, while the butter gives it a subtle richness.
The flavor is sweet but not overwhelming. You’ll notice a gentle tropical note that feels refreshing and light. The vanilla enhances the overall taste without taking attention away from the pineapple.
The glaze, if added, introduces a slight tanginess that balances the sweetness beautifully.
8. Tips + Tricks & More For Recipe Success
To make sure your cake turns out perfect every time, keep these tips in mind:
Do not overmix the batter; it can make the cake dense.
Use room temperature ingredients for smoother mixing.
Always include the pineapple juice—it’s key for moisture.
Check the cake a few minutes before the recommended baking time to avoid overbaking.
Let the cake cool slightly before adding glaze to prevent it from melting too much.
These small details can make a big difference in the final result.
9. Common Mistakes to Avoid
Even simple recipes can go wrong if you’re not careful.
One common mistake is draining the pineapple. This removes essential moisture and flavor.
Another issue is overbaking. Since this cake is meant to be moist, leaving it in the oven too long can dry it out.
Using cold ingredients can also affect the texture, making the batter less smooth.
Lastly, adding too much glaze can overpower the cake’s natural flavor. Keep it light and balanced.
10. How To Serve
This cake is incredibly versatile when it comes to serving.
You can enjoy it warm, straight from the oven, when it’s soft and comforting. Alternatively, let it cool completely for a firmer texture that’s easier to slice.
Cut into squares or slices depending on your preference. The cake holds its shape well while remaining soft inside.
11. Serving Suggestions
Take your pineapple cake to the next level with these serving ideas:
Add a dollop of whipped cream for a light, airy contrast
Serve with a scoop of vanilla ice cream for a rich dessert
Pair with fresh fruit like berries for a refreshing twist
Sprinkle toasted coconut on top for extra tropical flavor
These additions can turn a simple cake into a stunning dessert.
12. Storage and Make-Ahead Tips
This cake stores beautifully, making it perfect for preparing in advance.
Keep it in an airtight container at room temperature for up to 2 days. For longer storage, refrigerate it for up to 5 days.
If you want to freeze it, wrap individual slices tightly and store for up to 2 months. Thaw at room temperature before serving.
The moisture from the pineapple helps the cake stay soft even after storage.
13. Time Required
Here’s a quick breakdown of the time needed:
Prep Time: 10–15 minutes
Baking Time: 30–40 minutes
Cooling Time: 15–20 minutes
Total Time: 1h
This makes it a great option when you want something homemade without spending hours in the kitchen.
14. Final Thoughts
The Homemade Pineapple Heaven Cake truly lives up to its name. It’s soft, moist, and filled with a naturally sweet tropical flavor that feels both comforting and refreshing.
What makes this recipe special is its simplicity. With basic ingredients and easy steps, you can create a dessert that tastes like it came from a professional bakery. Whether you’re serving it at a gathering or enjoying it with a cup of coffee, it’s guaranteed to impress.
Once you try it, this cake might just become one of your go-to recipes—a reliable, delicious treat that never disappoints.