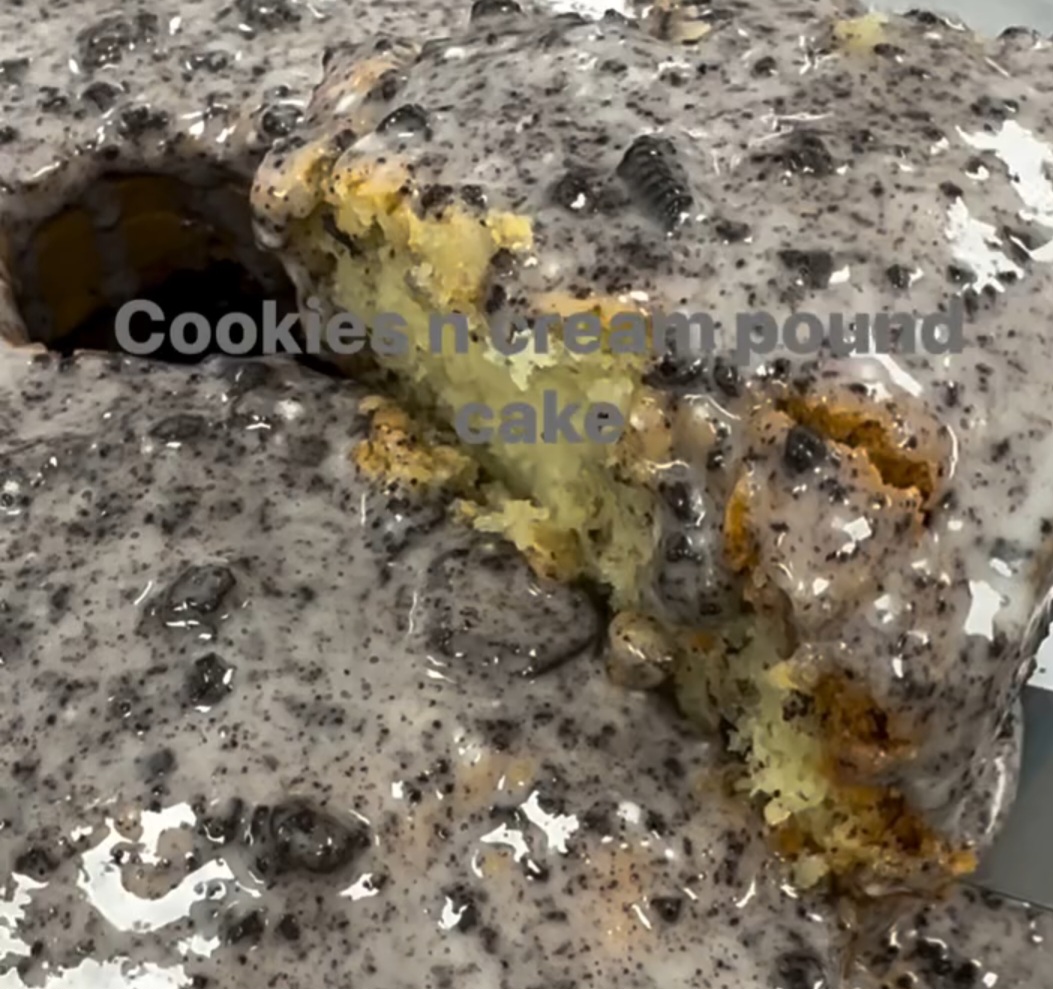
Cookies & Cream Pound Cake: The Ultimate Dessert Experience
Cookies & Cream Pound Cake is the perfect treat for any occasion, whether it’s a birthday, holiday, or a simple weekend indulgence. With the rich flavors of cream cheese, butter, and Oreo cookies, this cake is moist, tender, and absolutely irresistible. In this guide, we’ll walk you through everything you need to know to create this show-stopping dessert—from ingredients to serving suggestions.
Why This Cookies & Cream Pound Cake Works
This Cookies & Cream Pound Cake is a winner for multiple reasons:
Cream Cheese and Butter Combination – The blend of cream cheese and butter adds richness and moisture, ensuring the cake is soft but still holds its shape beautifully.
Oreo Cookies – Crushed Oreos throughout the batter provide delightful crunch and chocolatey flavor in every bite.
Perfect Sweetness – Using both granulated sugar in the cake and an optional glaze on top balances sweetness without overpowering the Oreo flavor.
Simple Yet Impressive – Even though it looks elegant, this cake is surprisingly easy to make and perfect for bakers of all levels.
What You’ll Need For This Cookies & Cream Pound Cake
Before you start baking, gather all your ingredients:
Cake Ingredients:
3 cups all-purpose flour
3 cups granulated sugar
3 sticks (1 ½ cups) unsalted butter, room temperature
8 oz cream cheese, room temperature
5 large eggs, room temperature
1 box Oreo cookies and cream pudding (optional, enhances cream flavor)
15–20 Oreo cookies, crushed
½ tsp baking powder
¼ tsp salt
1 tbsp vanilla extract
1 tsp almond extract (optional)
Optional Glaze Ingredients:
2 cups powdered sugar
2–3 tbsp milk
1 tsp vanilla extract
¼ tsp almond extract
Optional Garnishes:
Extra crushed Oreos
Whole mini Oreos
Preparing Your Workspace
Before you begin mixing ingredients, it’s important to prep your baking space:
Preheat Oven – Set your oven to 325°F (163°C). This ensures even baking.
Prepare Bundt Pan – Grease and flour a bundt pan to prevent sticking and make for a beautiful release.
Gather Tools – You’ll need a mixing bowl, hand or stand mixer, spatula, whisk, and measuring cups/spoons.
Mixing The Wet Ingredients
The foundation of a soft, fluffy pound cake starts with properly creaming the butter and sugar:
Beat the butter, cream cheese, and sugar together until light and fluffy.
Add eggs one at a time, beating well after each addition to create an airy texture.
Mix in the vanilla and almond extract for added depth of flavor.
Pro Tip: Ensure your butter, cream cheese, and eggs are at room temperature for smooth incorporation.
Preparing The Dry Ingredients
Dry ingredients provide structure and balance:
In a separate bowl, whisk together flour, baking powder, and salt.
Gradually add the dry mixture to the wet ingredients, mixing until just combined.
Tip: Do not overmix once flour is added; this keeps your cake tender and avoids a dense texture.
Folding in the Oreos
Now comes the star of the show: the Oreos!
Gently fold in the crushed Oreo cookies with a spatula.
Avoid overmixing to prevent the cookies from breaking down too much.
Pro Tip: For extra texture, save a few crushed Oreos to sprinkle on top after baking.
Baking Your Cookies & Cream Pound Cake
Baking correctly ensures the perfect rise and texture:
Pour the batter into the prepared bundt pan and smooth the top.
Bake for 75–90 minutes, or until a toothpick inserted in the center comes out clean or with a few moist crumbs.
Let the cake cool in the pan for about 15 minutes before inverting it onto a cooling rack.
Optional Glaze for Extra Sweetness
A glaze adds sweetness and a polished finish:
In a medium bowl, whisk together powdered sugar, milk, vanilla, and almond extract until smooth.
Pour over the cooled cake and decorate with extra Oreos if desired.
Tip: Make sure the cake is completely cooled before glazing to avoid melting the glaze.
Tips + Tricks for Recipe Success
Follow these tips to ensure your Cookies & Cream Pound Cake turns out perfectly every time:
Room Temperature Ingredients – Helps the batter combine smoothly and bake evenly.
Do Not Overmix – Overmixing the flour can lead to a dense cake.
Cool Before Glazing – Avoids a runny glaze and ensures a beautiful finish.
Check Oven Temperature – Every oven is different; use an oven thermometer for precision.
Optional Pudding Mix – Adds extra creaminess and flavor depth.
How Long Does This Cake Take?
Timing is essential for planning:
Prep Time: 20 minutes
Baking Time: 75–90 minutes
Cooling Time: 30 minutes before glazing
Total Time: Approximately 2 hours
How To Serve Cookies & Cream Pound Cake
This cake is versatile and perfect for many occasions:
Slice with a sharp serrated knife for clean edges.
Serve on a decorative cake plate or platter for presentation.
Pair with coffee, milk, or dessert wine for an elevated experience.
Serving Suggestions
Sprinkle extra crushed Oreos on top for a festive touch.
Add a scoop of vanilla ice cream on the side for a decadent dessert.
Drizzle chocolate sauce or caramel for added indulgence.
Decorate with mini Oreos for a party-ready presentation.
Why Cookies & Cream Pound Cake Is a Crowd Favorite
This cake works for many occasions because it’s:
Family-Friendly – Kids love the Oreo chunks and sweet glaze.
Celebration-Ready – Perfect for birthdays, holidays, or special gatherings.
Simple Yet Elegant – Looks impressive without complicated techniques.
Storing Your Cookies & Cream Pound Cake
Proper storage keeps your cake fresh:
Room Temperature: Store in an airtight container for 3–4 days.
Refrigeration: Keeps for up to 7 days; bring to room temperature before serving.
Freezing: Wrap in plastic wrap and foil for up to 3 months. Thaw overnight in the refrigerator.
Variations To Try
Chocolate Lovers: Add cocoa powder to the batter for a chocolate version.
Nutty Twist: Mix in chopped nuts for texture.
Mini Cakes: Bake in muffin tins for individual servings.
Fruit Twist: Top with fresh berries for a light contrast to the rich cake.
Final Thoughts on Cookies & Cream Pound Cake
This Cookies & Cream Pound Cake combines buttery richness, creamy texture, and crunchy Oreos into a dessert that’s hard to resist. With simple ingredients and straightforward steps, anyone can create a bakery-quality cake at home. Whether you serve it as a family treat or a show-stopping centerpiece, this cake is sure to delight everyone at the table.