Homemade Banana Pudding
A creamy, nostalgic dessert loved in every household, Homemade Banana Pudding is the kind of recipe that never goes out of style. It’s the perfect blend of velvety vanilla pudding, soft sweet bananas, and the irresistible crunch of vanilla wafers. Whether you’re preparing it for a family gathering, potluck, weekend dessert, or even a quick treat for yourself, this classic Southern comfort dish always delivers.
What makes this recipe especially wonderful is how effortless it is—just a few simple ingredients, a few minutes of prep, and you get a dessert that tastes like it took hours.
This article gives you everything you need: a detailed introduction, why the recipe works so well, full ingredient breakdown, step-by-step instructions, tips, tricks, serving suggestions, timing, and more—all wrapped inside a polished, professional, long-form format.
2. Introduction to This Creamy Classic Dessert
There is something incredibly warm and comforting about a perfectly made banana pudding. It feels nostalgic even if you didn’t grow up eating it. The combination of flavors and textures—silky pudding, slices of fresh banana, airy whipped topping, and tender vanilla wafers—creates a dessert that tastes like a sweet hug.
This recipe for Homemade Banana Pudding is particularly popular because it skips the stovetop and uses instant pudding, which makes the preparation quick and foolproof. Yet, it still delivers all the richness, structure, and creaminess you’d expect from a homemade dessert. The sweetened condensed milk brings a decadent sweetness, while the whipped topping keeps it light and beautifully fluffy.
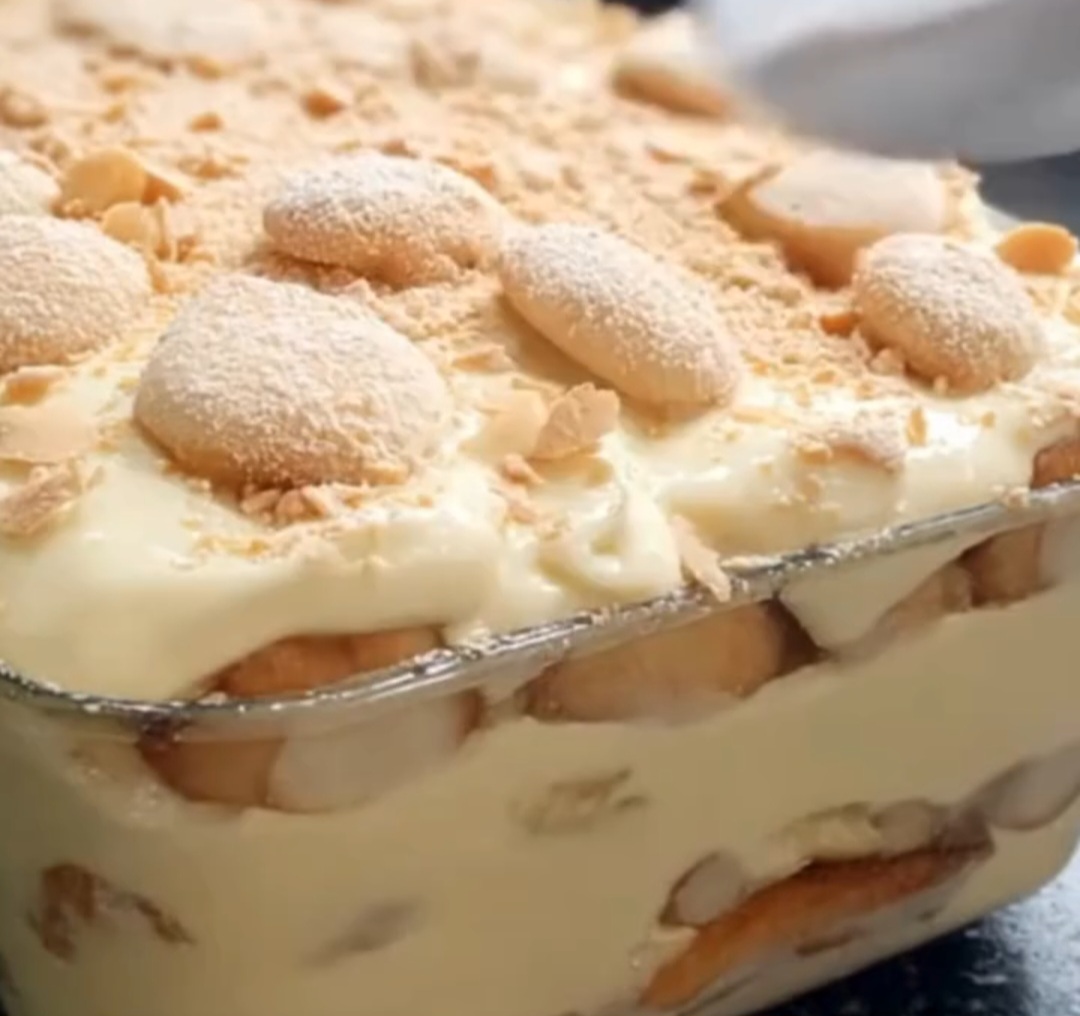
It’s also a highly customizable recipe—you can assemble it in a large dish, individual cups, or even in a trifle bowl if you want to create a beautiful layered presentation for entertaining. It’s easy, family-friendly, budget-friendly, and guaranteed to impress.
3. Why This Recipe Works So Well
This banana pudding recipe is beloved because of its balance of simplicity, reliability, and pure deliciousness. Here’s why it works every time:
1. Instant pudding creates the perfect texture.
Instant vanilla pudding thickens quickly, giving you smooth, creamy layers without cooking. It sets beautifully in the refrigerator and holds the structure of the dessert.
2. Sweetened condensed milk adds richness.
This ingredient creates a deeper, sweeter, more indulgent flavor compared to traditional milk-only pudding.
3. Whipped topping keeps everything light.
Cool Whip adds airiness and fluff, blending seamlessly with the pudding mix to create a mousse-like texture.
4. Bananas provide natural sweetness and freshness.
Ripe bananas are the heart of the dessert. Their softness and natural sugars complement the silky pudding perfectly.
5. Vanilla wafers provide contrast and structure.
They soften slightly as they chill, turning into cake-like layers that add body to the dessert, while still maintaining a gentle bite.
6. The layering method ensures flavor in every bite.
By alternating wafers, bananas, and pudding, each spoonful carries the ideal balance of all components.
7. It chills into perfection.
Four hours in the fridge gives the pudding time to set and the wafers time to soften, resulting in that perfect melt-in-your-mouth texture.
If you want reliability, nostalgia, and incredible flavor without complicated steps, this recipe delivers every single time.
4. What You’ll Need for This Recipe
To create your Homemade Banana Pudding, you only need a handful of simple and accessible ingredients. These are easy to find, budget-friendly, and require no special equipment.
Dry Ingredients
1 box (5 oz) instant vanilla pudding mix
The base that creates your creamy custard texture.
1 box vanilla wafers (about 11 oz)
The iconic cookie layer that helps build structure and classic flavor.
Wet Ingredients
3 cups cold milk
Essential for thickening the instant pudding properly.
1 can (14 oz) sweetened condensed milk
Adds sweetness, richness, and depth.
1 container (8 oz) whipped topping, thawed
For a light, fluffy finish in the pudding mixture.
Fresh Ingredients
5–6 ripe bananas, sliced
Choose ripe yet firm bananas that aren’t overly spotted or mushy.
Equipment Needed
Large mixing bowl
Whisk
Spatula
9×13-inch pan or large trifle bowl
Knife + cutting board
Measuring cups
This recipe requires no stove, no baking, and no cooking—just easy assembly and simple ingredients.
5. Title: Step-by-Step Instructions for Homemade Banana Pudding
Let’s break down the entire process into clear, easy steps so you can make this recipe with confidence.
6. Title: Step 1 — Prepare the Pudding Base
In a large mixing bowl, whisk the instant vanilla pudding mix together with cold milk.
Whisk until the mixture becomes smooth and slightly thick—this takes about 1–2 minutes.
Next, add the sweetened condensed milk. Stir until completely combined.
Fold in the whipped topping gently, using a spatula.
The final mixture should look light, creamy, and fluffy.
7. Title: Step 2 — Assemble the First Layer
Spread a thin layer of the pudding mixture on the bottom of your chosen dish (9×13-inch or trifle bowl).
This helps anchor the wafers and prevents them from sliding.
Place vanilla wafers in a neat single layer.
Top with sliced bananas.
Add a thick layer of pudding on top, spreading evenly.
8. Title: Step 3 — Continue Layering the Dessert
Repeat the process:
Wafers
Bananas
Pudding
You can create as many layers as your dish allows.
In a trifle dish, this creates a stunning, picture-perfect effect.
Finish with a thick final layer of pudding to seal everything in.
9. Title: Step 4 — Topping and Decoration
For beautiful presentation, garnish the top with:
Whole vanilla wafers
Crushed wafers
Banana slices (added just before serving to avoid browning)
A sprinkle of cinnamon
A drizzle of caramel
This final touch adds both texture and visual appeal.
10. Title: Step 5 — Chill the Banana Pudding
Refrigerate your assembled dessert for at least 4 hours, but overnight is best.
This chilling time is crucial. It allows flavors to blend and lets the wafers soften into that classic cake-like texture.
Serve cold and enjoy every creamy, dreamy bite.
11. Tips + Tricks for Recipe Success
1. Use cold milk for the pudding.
Warm milk will prevent the pudding from setting properly.
2. Don’t slice bananas too early.
Slice them right before assembling to avoid browning.
3. Choose ripe—but not mushy—bananas.
You want bananas with yellow peels and small brown spots.
4. For stronger banana flavor, add banana extract.
Just a drop will enhance the taste without overpowering it.
5. For thicker pudding, use less milk.
Try 2½ cups instead of 3 if you want a denser texture.
6. Layer evenly.
Uniform layers make each scoop perfect.
7. Chill longer for softer wafers.
If you like very soft, cake-like wafers, chill overnight.
8. Use a trifle bowl for parties.
It looks gorgeous and shows off the layers.
9. Add cream cheese for a richer version.
Mix 4 oz softened cream cheese into the pudding for extra decadence.
10. Garnish right before serving.
Bananas on top should be added last to avoid discoloration.
12. Title: How to Serve Homemade Banana Pudding
Banana pudding is best served cold, straight from the refrigerator.
Use a large spoon to scoop from the bottom so every serving includes wafers, bananas, and pudding.
If you’re serving it at an event, set it out in a chilled dish on ice to maintain freshness.
Individual cups also make presentation neater and more elegant for parties or dessert tables.
13. Title: Serving Suggestions
Here are some creative and delicious ways to serve banana pudding:
• Trifle-style presentation
Layer in a tall glass dish to showcase each layer beautifully.
• Mini dessert cups
Serve in small jars, plastic cups, or dessert glasses—great for events.
• With toppings
Try caramel drizzle, cinnamon dusting, chocolate shavings, or crushed cookies.
• As a pie filling
Pour into a graham cracker crust to make banana pudding pie.
• With whipped cream swirls
Add piped whipped cream for an elegant touch.
• With extra fruit
Top with strawberries, blueberries, or toasted coconut.
14. Title: Recipe Timing & Prep Overview
Prep Time: 15 minutes
Assembly Time: 10 minutes
Chilling Time: 4 hours minimum (overnight recommended)
Total Time: About 4 hours 25 minutes
This makes it an excellent make-ahead dessert for busy holidays, parties, or meal prep.
Conclusion: The Perfect Make-Ahead Dessert
This Homemade Banana Pudding recipe is the ideal balance of flavor, texture, simplicity, and nostalgia. With minimal prep and maximum payoff, it’s the kind of dessert you can count on whether you’re hosting guests or just craving something sweet at home. The layers soften into a silky, dreamy creation that tastes even better the next day.
If you want a classic Southern-style dessert that never disappoints, this recipe is the one.