A 100-Year-Old Pie Crust Recipe That Still Shines
Introduction
A 100-Year-Old Pie Crust Recipe That Still Shines is more than just a method for making dough—it’s a story, a tradition, and a reminder that some of the best things in life never go out of style. Passed down through generations, this pie crust comes from a great-grandmother’s handwritten cookbook, created at a time when recipes relied on intuition, simple ingredients, and patience rather than shortcuts and gadgets.
In a world filled with pre-made crusts and complicated techniques, A 100-Year-Old Pie Crust Recipe That Still Shines proves that classic baking wisdom still holds true. With only flour, fat, salt, sugar, egg, and ice water, this crust delivers a texture that modern recipes often chase but rarely match—tender, flaky, and rich without being heavy.
What makes this recipe truly special is its versatility. Whether you’re baking a sweet apple pie, a rich pumpkin pie, or a savory quiche, this crust performs beautifully every time. It’s forgiving enough for beginners yet reliable enough for seasoned bakers, making it a timeless staple in any kitchen.
Why This Recipe Works
There’s a reason A 100-Year-Old Pie Crust Recipe That Still Shines has survived for a century—it’s built on sound baking principles that simply work.
First, the high ratio of fat to flour creates those signature flaky layers. When the shortening or lard melts in the oven, it releases steam, forming delicate pockets of air that result in a crisp yet tender crust. This technique was perfected long before food science explained it, proving how intuitive early bakers truly were.
Second, the use of ice water and minimal mixing prevents gluten from developing too much. Overworked dough becomes tough, but this recipe encourages gentle handling, ensuring a soft, melt-in-your-mouth texture.
The inclusion of an egg is another old-fashioned trick that adds structure and richness without sacrificing flakiness. It helps bind the dough while contributing subtle flavor and color.
Most importantly, A 100-Year-Old Pie Crust Recipe That Still Shines relies on balance. Every ingredient has a purpose, and nothing is excessive. That balance is what makes the crust dependable, adaptable, and consistently delicious.
What You’ll Need For This Recipe
One of the greatest strengths of A 100-Year-Old Pie Crust Recipe That Still Shines is its simplicity. You likely already have everything you need in your pantry.
Ingredients
4 cups all-purpose flour
1 ¾ cups shortening or traditional lard (for a true vintage touch)
3 tablespoons sugar (reduce or omit for savory pies)
2 teaspoons salt
1 egg
½ cup ice water
Equipment
Large mixing bowl
Whisk
Pastry cutter or clean fingers
Small bowl
Fork
Plastic wrap
Rolling pin
Lightly floured surface
Simple tools and humble ingredients are all it takes to recreate this century-old masterpiece.
How To Make This Recipe
Making A 100-Year-Old Pie Crust Recipe That Still Shines is a slow, thoughtful process that rewards care and patience. Follow these steps for perfect results every time.
Step 1: Mix the Dry Ingredients
In a large bowl, whisk together the flour, sugar, and salt until evenly combined. This ensures the sweetness and seasoning are distributed throughout the dough.
Step 2: Cut in the Fat
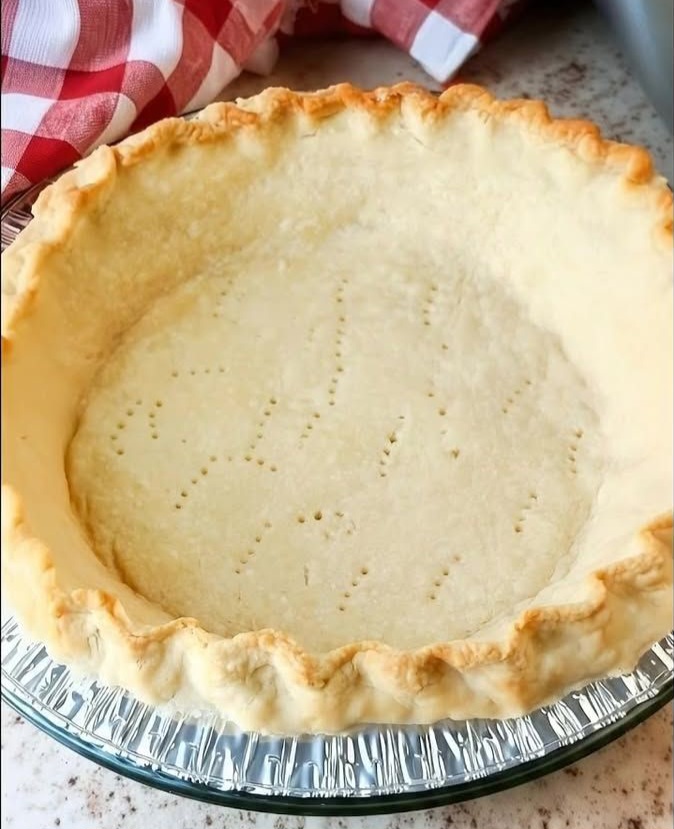
Add the shortening or lard to the flour mixture. Using a pastry cutter or your fingertips, cut the fat into the flour until the mixture resembles coarse crumbs with pea-sized pieces. These visible pieces of fat are essential—they’re what create the flaky layers later on.
Step 3: Add the Wet Ingredients
In a small bowl, beat the egg and combine it with the ice water. Slowly pour this mixture into the flour, gently stirring with a fork just until the dough begins to come together. Stop mixing as soon as it forms a shaggy dough.
Step 4: Form and Chill the Dough
Turn the dough out onto a lightly floured surface. Divide it into two equal discs, wrap each tightly in plastic wrap, and refrigerate for at least 30 minutes. This resting period relaxes the gluten and firms up the fat, making the dough easier to roll.
After chilling, A 100-Year-Old Pie Crust Recipe That Still Shines is ready to be rolled, filled, and baked to perfection.
Tips + Tricks & More For Recipe Success
Even though A 100-Year-Old Pie Crust Recipe That Still Shines is forgiving, a few expert tips will help you achieve bakery-level results.
Keep everything cold: Cold fat and cold water are essential for flakiness.
Don’t overmix: Stop mixing as soon as the dough comes together.
Flour lightly: Too much flour when rolling can dry out the dough.
Rest the dough: Never skip the chilling step—it improves texture and flavor.
Roll evenly: Rotate the dough as you roll to maintain a round shape.
Patch gently: If cracks appear, press them together—this dough is forgiving.
These simple techniques elevate an already excellent recipe into something truly unforgettable.
How to Serve
One of the joys of A 100-Year-Old Pie Crust Recipe That Still Shines is how beautifully it complements both sweet and savory fillings.
For sweet pies, bake until golden brown and serve slightly warm to highlight the crust’s buttery aroma. For savory dishes, allow the crust to cool slightly so it sets and slices cleanly.
This crust is sturdy enough to hold generous fillings yet tender enough to cut effortlessly with a fork, making it ideal for family gatherings and special occasions alike.
Serving Suggestions
A 100-Year-Old Pie Crust Recipe That Still Shines pairs wonderfully with a wide range of fillings and accompaniments:
Apple, pecan, pumpkin, or cherry pie
Savory quiches with cheese and vegetables
Pot pies filled with creamy chicken or beef
Hand pies for portable treats
Serve sweet pies with vanilla ice cream or whipped cream
Pair savory pies with fresh salads or roasted vegetables
No matter how you serve it, this crust always steals the spotlight.
Time
Another reason A 100-Year-Old Pie Crust Recipe That Still Shines remains a favorite is its manageable time commitment.
Prep Time: 20 minutes
Chilling Time: 30 minutes (minimum)
Total Time Before Baking: About 50 minutes
This makes it ideal for both planned baking days and spontaneous pie cravings.
Storage & Freezing
This recipe is perfect for make-ahead baking. Wrap the dough tightly and refrigerate for up to 3 days. For longer storage, freeze each disc wrapped in plastic and foil for up to 2 months.
Thaw overnight in the refrigerator before rolling out. The texture and flavor remain just as wonderful, proving again why A 100-Year-Old Pie Crust Recipe That Still Shines is so practical.
Variations of the Recipe
While traditional, A 100-Year-Old Pie Crust Recipe That Still Shines welcomes customization.
Use butter instead of shortening for richer flavor
Try a butter-lard blend for maximum flakiness
Add sugar for dessert pies or omit it for savory ones
Mix in herbs like thyme or rosemary for savory crusts
Experiment with whole wheat flour for a rustic twist
These variations keep the recipe fresh while honoring its roots.
A Timeless Conclusion
A 100-Year-Old Pie Crust Recipe That Still Shines reminds us that true quality never fades. Generation after generation has trusted this recipe, not because it’s trendy, but because it works—every single time.
In a fast-paced world, slowing down to make something with history and heart feels especially meaningful. This crust connects us to the past while continuing to shine in modern kitchens, proving that the best recipes really are timeless.